Mastering Acrylic Pouring: A Pro's Guide to Fluid Acrylic Mediums

Mastering Acrylic Pouring: A Pro's Guide to Fluid Acrylic Mediums

Summary

Master acrylic pouring from beginner to pro — covering medium comparisons, mixing ratios, cell creation, top 5 techniques, common problems, and H&B Art's 15-year acrylic formulation expertise.
Mastering Acrylic Pouring: A Pro's Guide to Fluid Acrylic Mediums
What Is Acrylic Pouring and Why It Has Taken the Art World by Storm
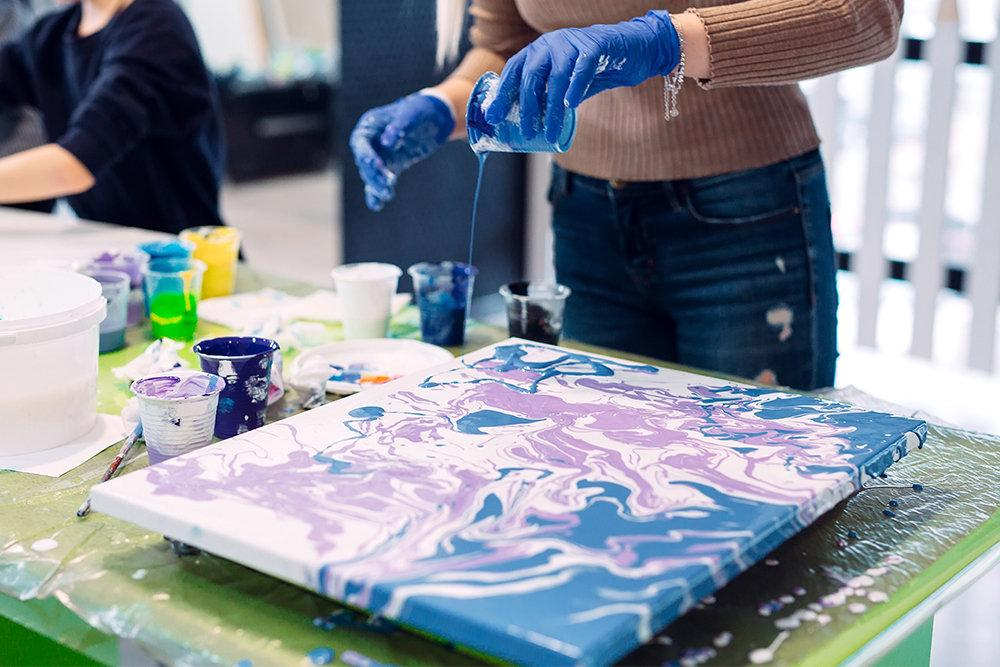
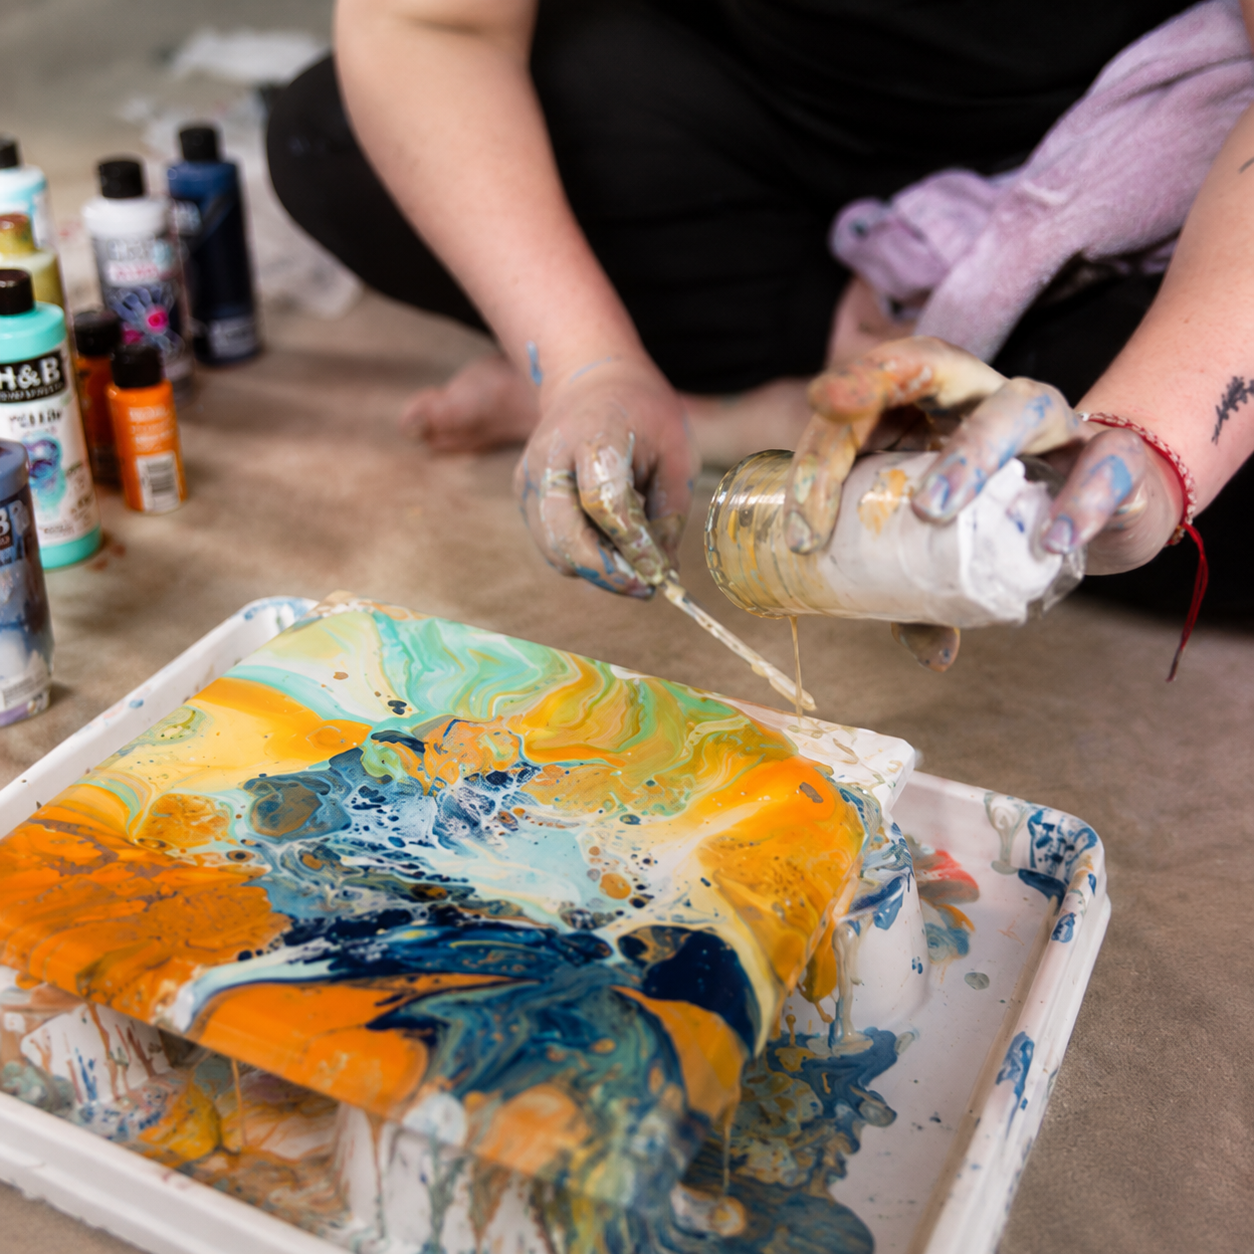
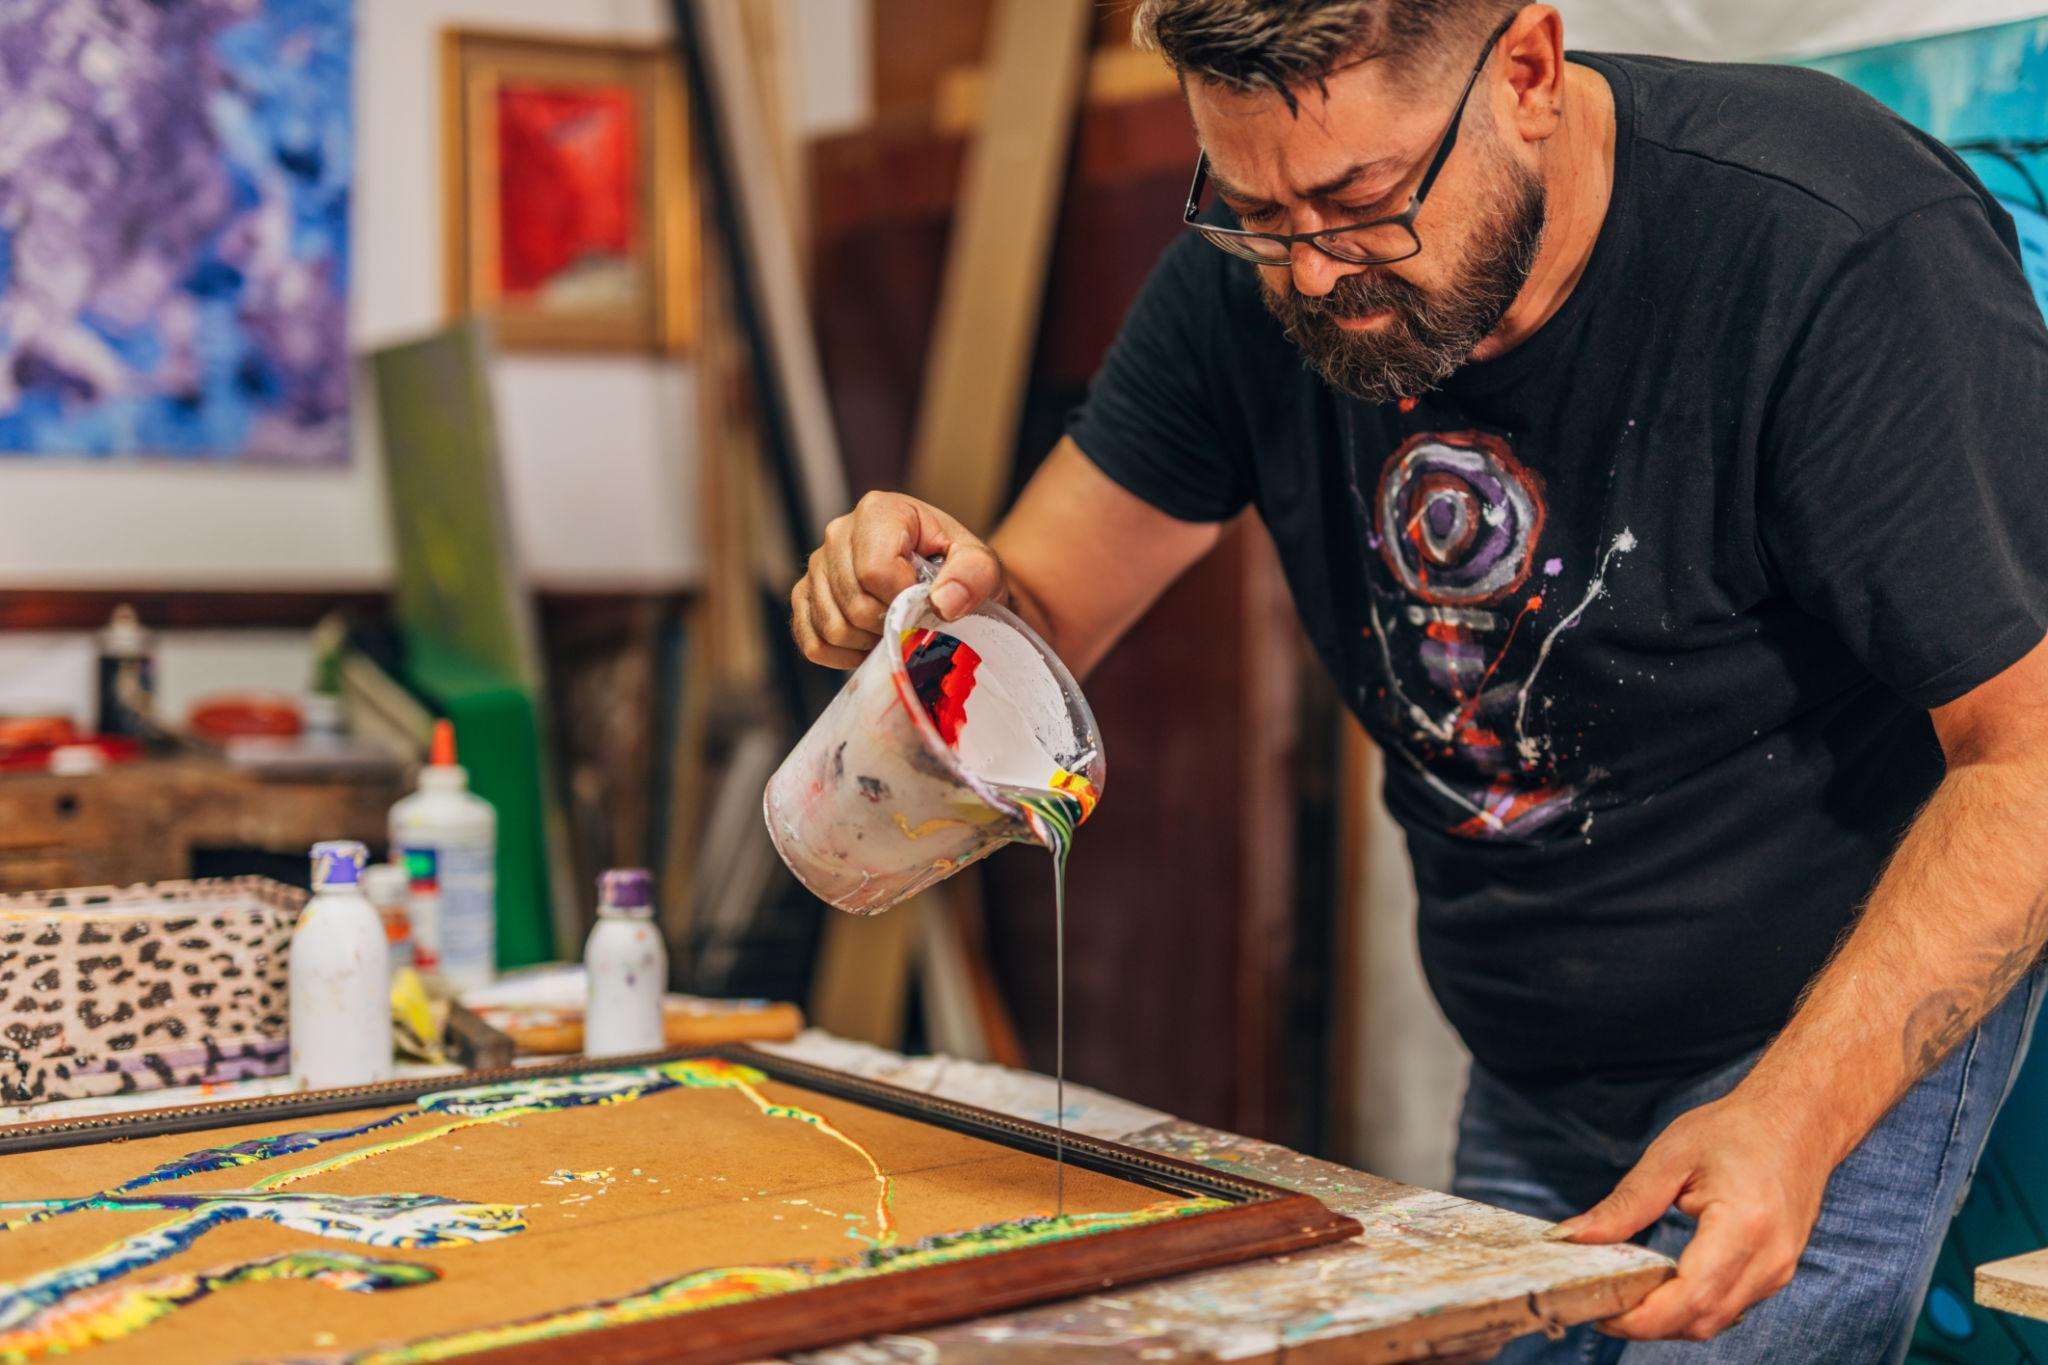
Acrylic pouring — also known as fluid art or flow painting — is a technique where fluid acrylic paint is poured onto a canvas to create mesmerizing organic patterns, cells, and marbled effects. Unlike traditional brushwork, pouring relies on gravity, paint viscosity, and chemical reactions between mediums to produce results that are impossible to replicate by hand. The technique has exploded in popularity on YouTube and Instagram, where videos of swirling, galaxy-like pours routinely accumulate millions of views. For art supply manufacturers and OEM brands, this trend represents a significant market opportunity: artists who embrace pouring consume paint at 3-5 times the rate of traditional painters, creating sustained demand for bulk acrylic paints and pouring mediums.
The Science Behind the Perfect Pour: Viscosity, Density, and Surface Tension

 A successful acrylic pour depends on three interconnected physical properties. Viscosity determines how freely the paint flows — too thick and it sits in lumps; too thin and colors muddy together. The ideal pouring consistency is often described as 'warm honey' or 'heavy cream.' Density differences between paint colors create the layered effects seen in dirty pours and flip cups, where heavier pigments sink through lighter ones to form intricate patterns. Surface tension governs cell formation — the signature feature of acrylic pouring — where lower surface tension additives disrupt the paint film to create organic, bubble-like structures. Understanding these properties is what separates casual hobbyists from professional fluid artists.

Essential Pouring Mediums: A Comprehensive Comparison Pouring medium is the backbone of fluid art.

 Here is how the major options compare: Liquitex Pouring Medium — the gold standard for professional results. Produces brilliant, crack-free finishes with excellent leveling. Higher cost but unmatched reliability. Floetrol — originally a house paint conditioner, Floetrol has become the go-to budget option. Produces excellent cells when combined with silicone oil. Requires Australia-sourced Floetrol for best results; US formula behaves differently. GAC 800 (Golden Artist Colors) — a specialty medium that reduces crazing and cracking in thick pours. Ideal for deep canvas work but expensive for large-scale production. PVA Glue (Elmer's Glue-All) — the most economical option. Mixed 60% glue to 40% water, then combined 2:1 with paint. Good for practice but may yellow over time. Water Only — the least recommended method. While water thins paint, it also dilutes the acrylic binder, leading to poor adhesion, cracking, and fading over time.


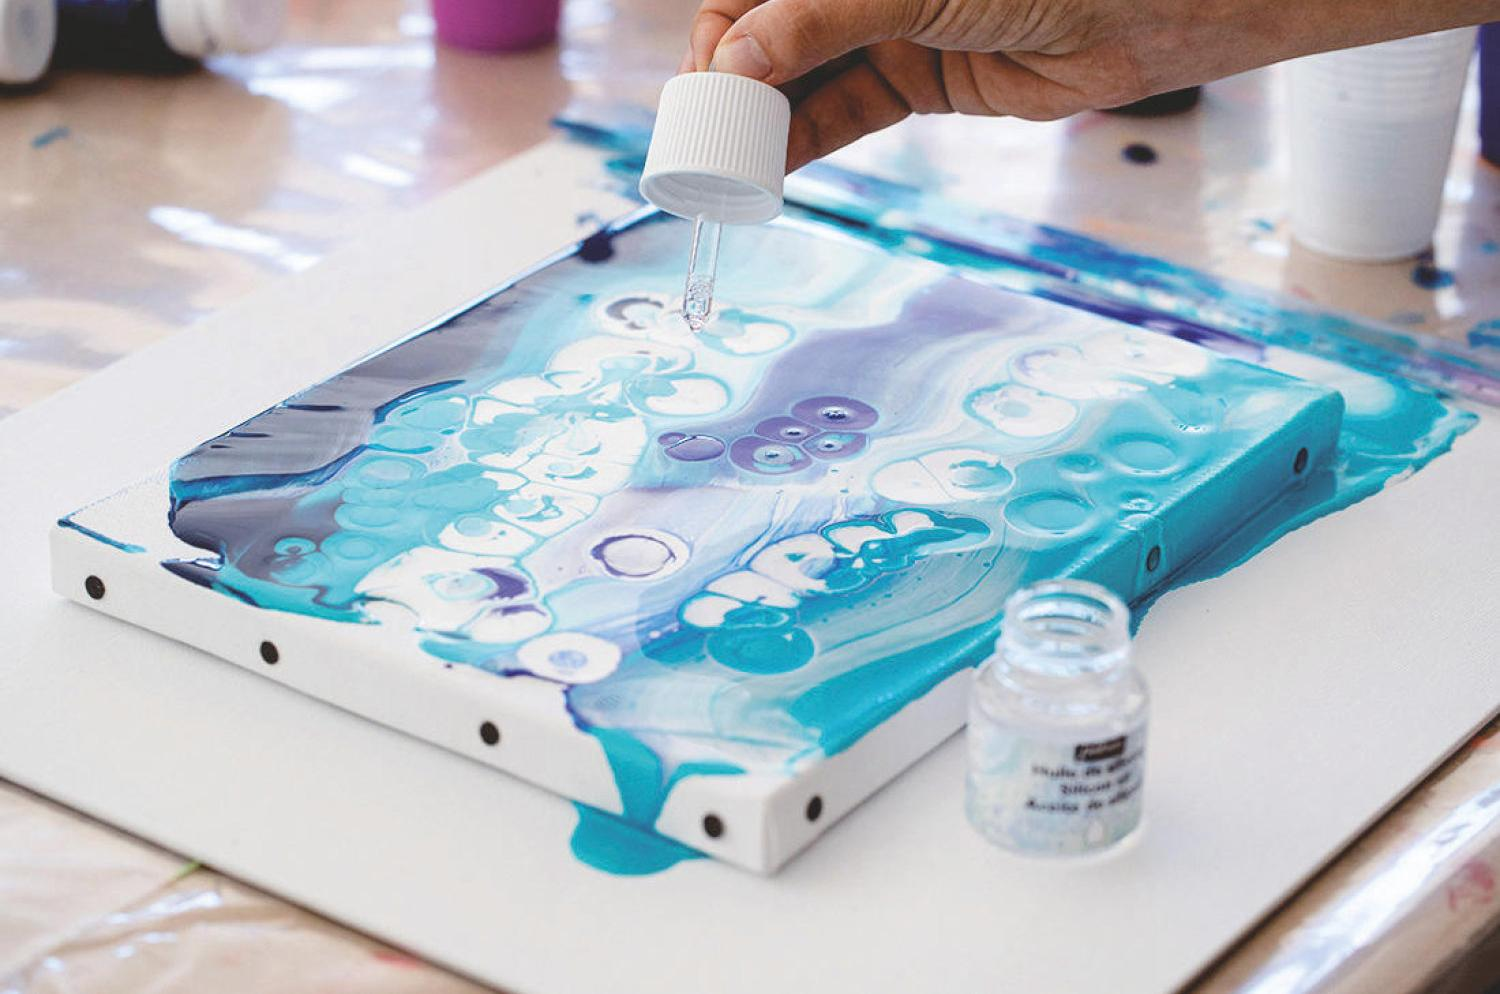
Creating Stunning Cells: The Silicone Oil Technique Cells are the iconic circular patterns that define acrylic pouring.

They form when a low-surface-tension additive — typically dimethicone-based silicone oil or treadmill belt lubricant — is added to one or more paint colors. When the pour settles, the silicone rises through the paint layers, creating bubble-like openings that reveal the colors underneath. Professional tip: use a culinary torch held 6-8 inches from the surface immediately after pouring. The heat pops air bubbles and accelerates the silicone's rise, producing more defined and vibrant cells. Only 2-3 drops of silicone per 60ml of mixed paint are needed; excessive silicone creates too many small, chaotic cells that lack visual impact.

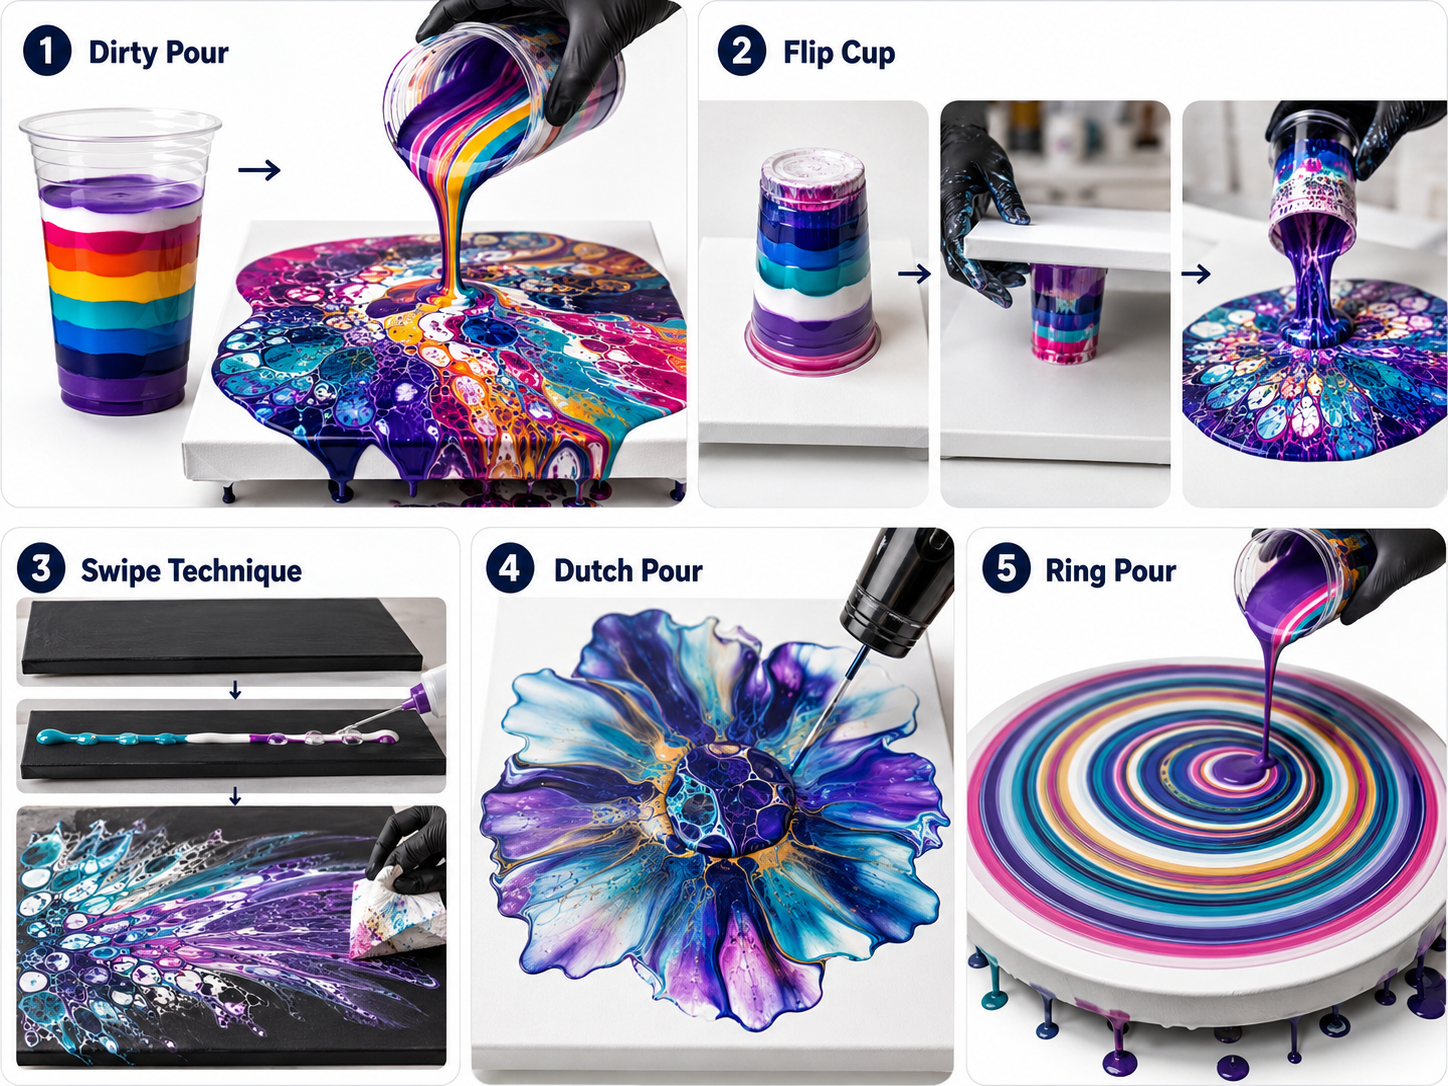
Top 5 Pouring Techniques Every Artist Should Master 

1. Dirty Pour: Layer multiple colors in a single cup, then pour onto the canvas in one motion. The colors stratify and create complex, unpredictable patterns. 2. Flip Cup: Fill a cup with layered colors, place the canvas face-down on the cup, flip the entire assembly, and lift the cup. Gravity does the rest. 3. Swipe Technique: Pour a base layer, add a line of contrasting color mixed with silicone, then drag a damp paper towel or palette knife across the surface to stretch the silicone cells. 4. Dutch Pour: Pour a puddle in the center, then use a blow dryer or straw to blow the paint outward, creating flowing, petal-like forms. 5. Ring Pour: Pour paint in a continuous circular motion from a height of 12-18 inches, creating concentric rings that expand and interact as the paint spreads.
Common Pouring Problems and How to Solve Them Crazing and Cracking: The most frustrating issue — fine cracks appear as the paint dries. 

Caused by: top layer drying faster than underlying layers, or excessive water in the mix. Solution: use a dedicated pouring medium rather than water; dry in a dust-free, humidity-controlled environment. Muddy Colors: All colors blend into an unappealing brown. Caused by: over-stirring the cup, pouring too aggressively, or using complementary colors (red+green, blue+orange) in adjacent layers. Solution: limit cup stirring to 2-3 gentle swirls; place complementary colors far apart in the layering sequence. Uneven Drying: Edges dry faster than the center, causing paint to pull inward. Solution: use a level surface; tent the canvas with a cardboard box during drying to slow evaporation evenly.

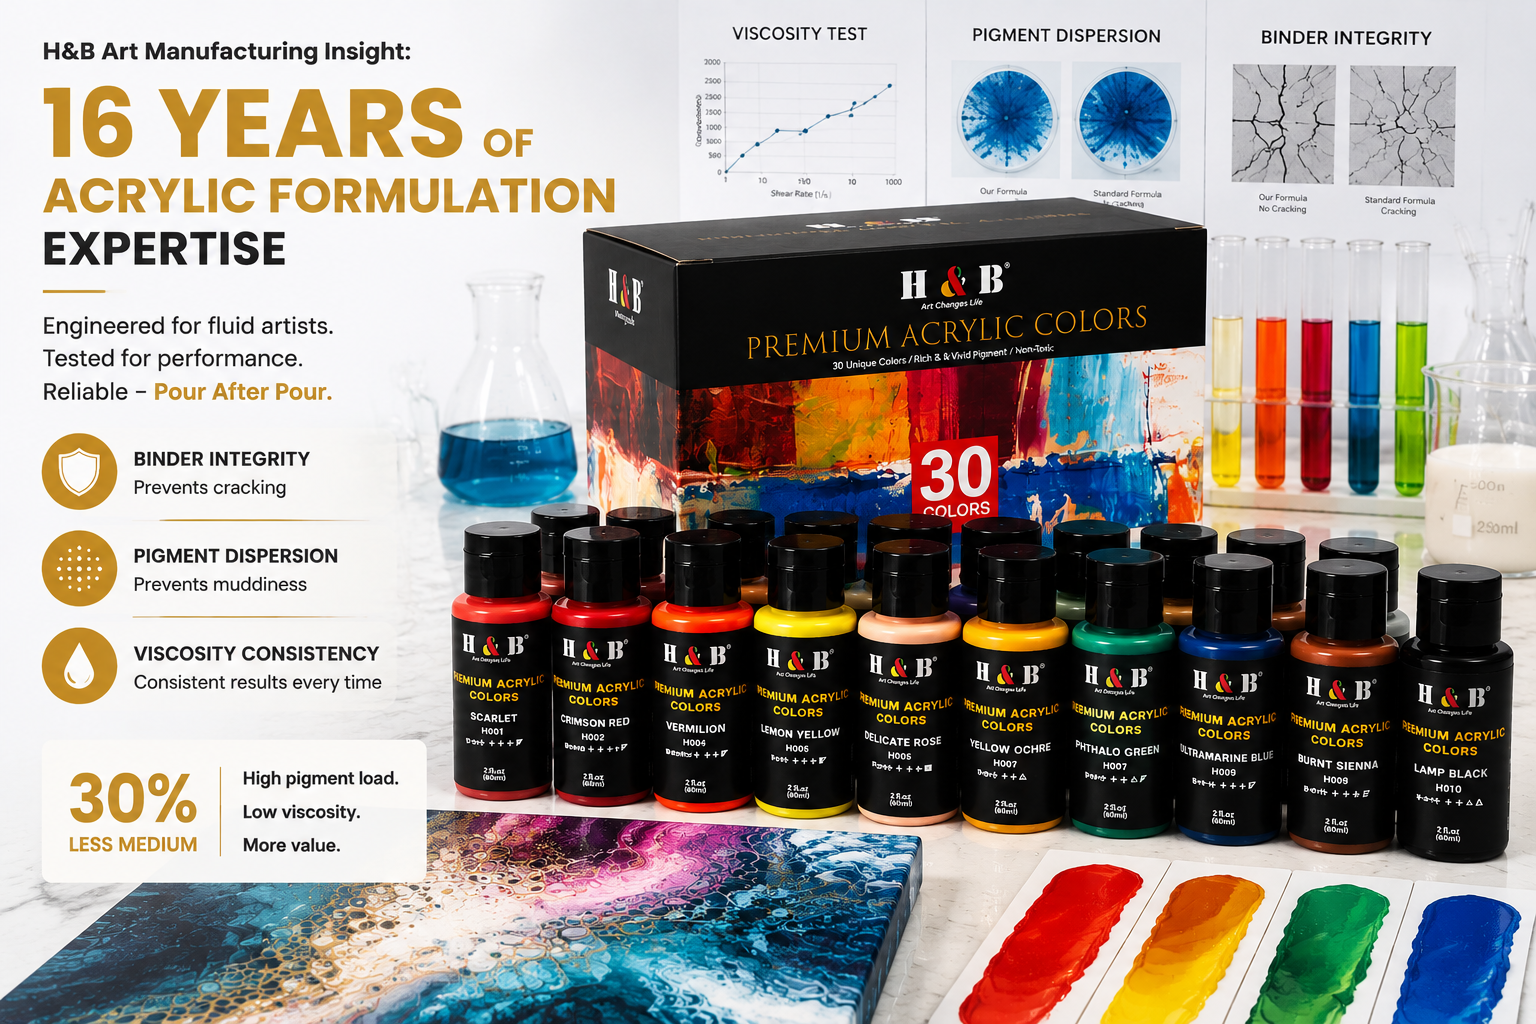
H&B Art Manufacturing Insight: 15 Years of Acrylic Formulation Expertise At H&B Art, our OEM acrylic paint formulations are engineered with fluid artists in mind. 

Our soft-body acrylics feature a low-viscosity, high-pigment-load formulation that achieves pouring consistency with 30% less medium compared to standard student-grade paints — saving artists money without sacrificing color intensity. Every batch is tested for: binder integrity (to prevent cracking), pigment dispersion (to prevent muddiness), and viscosity consistency (to eliminate frustrating recipe recalculations between batches). Whether you are an independent artist or a brand sourcing private-label acrylic paint sets, our 15 years of manufacturing experience ensure that every tube and bottle performs reliably — pour after pour.

Sealing and Preserving Your Acrylic Pour 

A finished pour is only complete when properly sealed. Varnish options: Liquitex High Gloss Varnish for maximum depth and color pop; Golden Polymer Varnish with UVLS for archival-quality UV protection; Krylon UV-Resistant Clear spray for quick, even application. Resin coating: For a glass-like, professional gallery finish, epoxy resin is the premium choice. ArtResin and KSResin are popular brands that provide self-leveling, high-gloss coatings 2-3mm thick. Always work in a well-ventilated area and allow the pour to cure for at least 72 hours before applying any sealant.

Conclusion: Elevate Your Fluid Art Practice Today 

Acrylic pouring sits at the intersection of science and art — a medium where understanding viscosity ratios matters as much as color theory. Whether you are a beginner experimenting with Floetrol and PVA glue, or a professional pushing the boundaries with GAC 800 and resin finishes, the key to consistent results lies in disciplined material preparation and technique. At H&B Art, we are proud to support the global fluid art community with OEM acrylic paints and pouring mediums engineered for performance, reliability, and affordability. Pour boldly — your next masterpiece is one flip cup away.